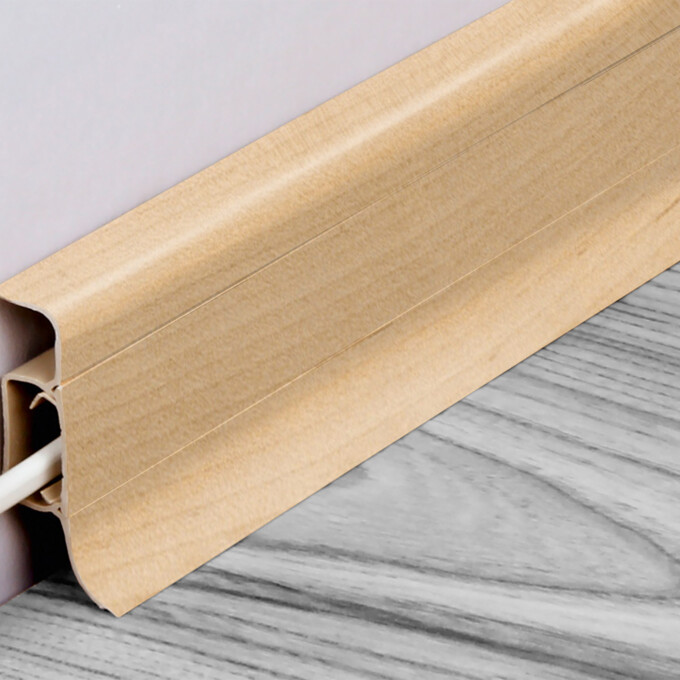
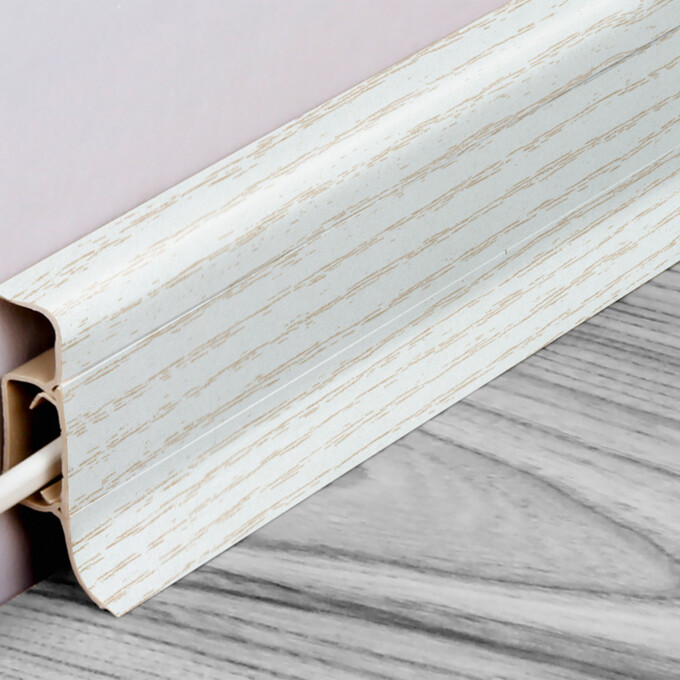
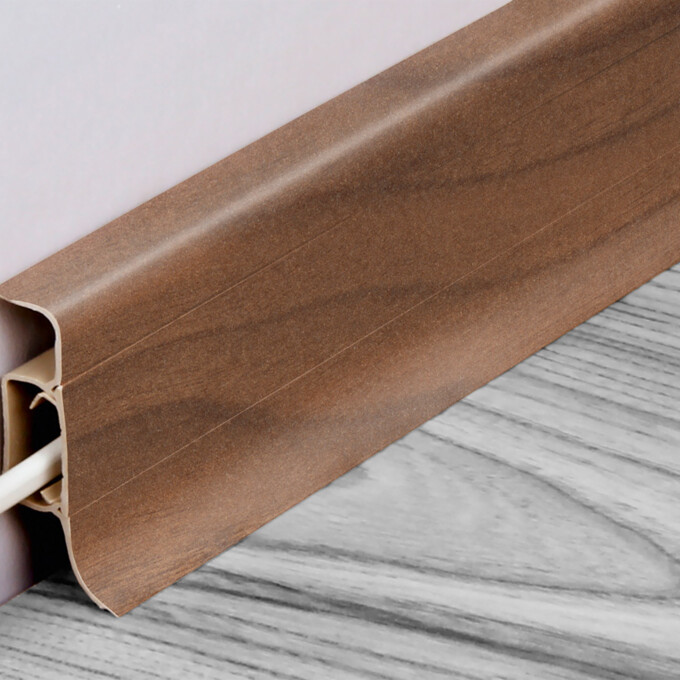
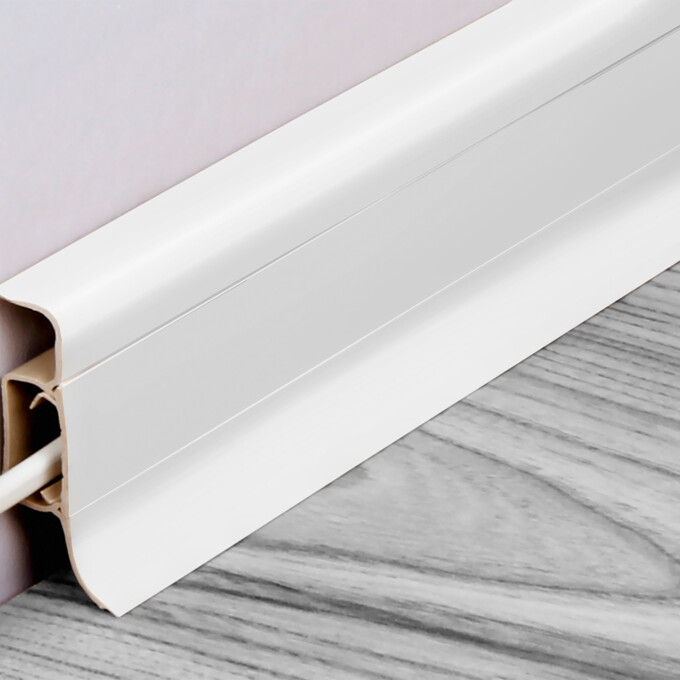
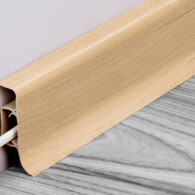
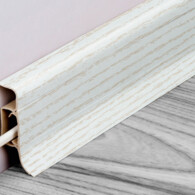
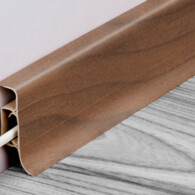
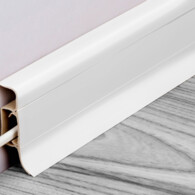
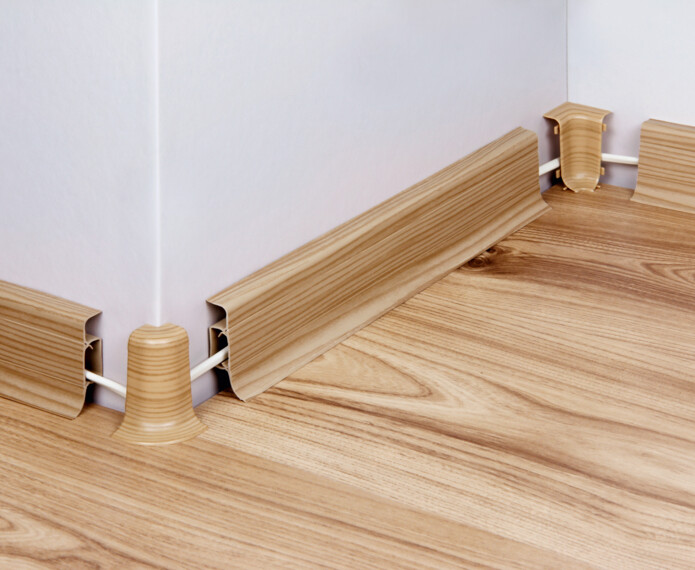
Cable duct skirting KKSL2
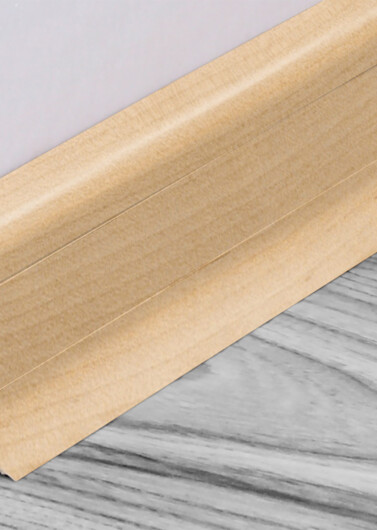
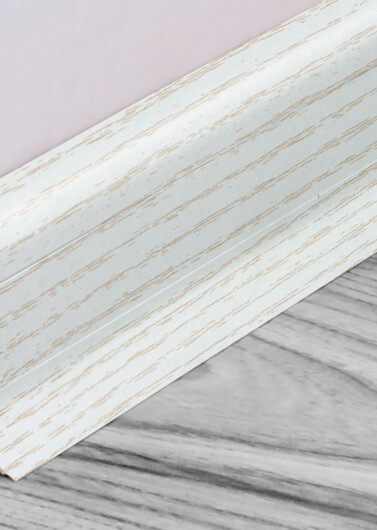
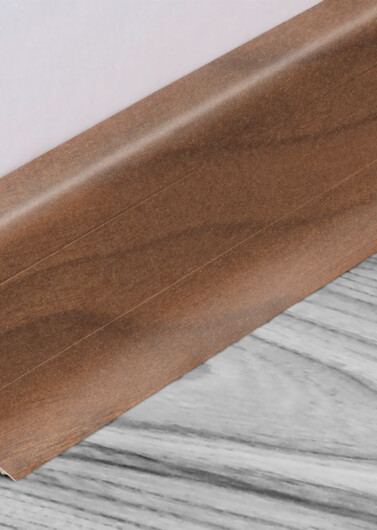
Decors
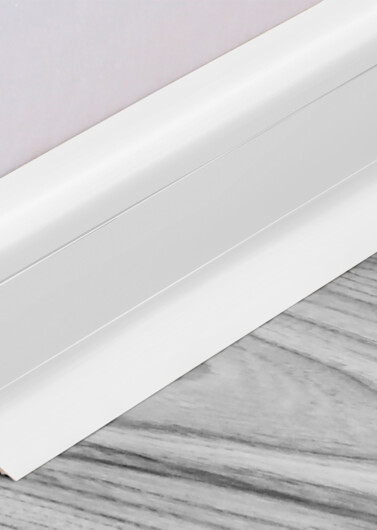
Dimension
- width 22,5 mm
- height 50 mm
- length 2500 mm
Installation
Whether installation by means of clip, integrated carrier rail or by means of nailing or gluing: our instructions will help you with the installation.
Details
The cable duct skirting allows cable laying to be concealed. It is particularly convenient when wiring has to be installed in the room at a later stage. For this purpose, the cover of this rail can easily be opened for laying or replacement of cables. It is attached via the integrated support and can be glued, screwed or nailed.
The skirting boards on offer are all too high for me. I would like a small, refined skirting.
Yes. LOGOCLIC® offers numerous different strips for an attractive finish for your laminate flooring. If you would prefer a small, refined skirting, you would be well advised to use a quarter round, available in different versions.
Does the decor of the skirting boards always match the floor 100%?
The production processes for laminate flooring and skirting board differ. Laminate flooring from LOGOCLIC® is built up in six layers, comprising footfall and impact sound insulation, a stabilising layer, HDF core material, antistatic paper, decorative layer and an overlay. The decor layer is the paper printed with the desired decor, which is pressed onto the top of the coreboard with melamine resin and together with the overlay under heat.
Skirting boards, on the other hand, are not produced this way. That is why it is not possible to produce skirtings that are one hundred percent “decor-matched” to the floor. However, LOGOCLIC® skirtings are very similar to the decor of the chosen floor.
Why an expansion joint for laminate?
Expansion joints are often also known as movement joints or dilatation joints. They are used to compensate for any swelling or shrinking behaviour of laminate flooring in larger floor areas. Coverings such as parquet or laminate can expand (swell) or contract (shrink) with temperature fluctuations or changes in humidity. These possible changes are compensated for by an expansion joint at door jambs, room transitions or to the wall. The expansion joint is approximately the thickness of the material – ideally around 12 millimetres.
For particularly large laminate areas – for example, from a length or width of eight metres – an additional expansion joint should be planned in the middle of the room to prevent the formation of ripples here.
How can I connect the skirtings at the butt joint?
Quite often, a wall is longer than the standard dimension of a skirting board. In this case, several skirting board sections have to be combined. This results in a butt joint where the two ends of the skirting boards meet. – But how do I avoid the gap between the two skirtings being visible? You have different possibilities:
Connecting skirtings by butt joint: The point where two skirtings meet is known as the “butt joint”. The skirtings can be cut using a so-called mitre cut, at an angle to each other, or be prepared with two straight ends. When connecting the skirtings in this way, it is advisable to attach an installation clip centrally behind the joint in order to be able to mount both skirtings with only one clip.
End caps in the visible area: An alternative to the variant mentioned above is the installation method using end caps. In this case, two end caps are simply glued together to form a “transition cap” – this way you avoid a possible gap at the joint.
How do I fix skirting boards in place?
Whether mounting with clips, with integrated support strip, by nailing or gluing: our instructions will help you with the installation of LOGOCLIC® strips. Nevertheless, the motto applies: good preparation is half the work.
Here you can find the installations of skirtings.
